
The Snipping Tool Shortcut has become an essential part of modern computer use, especially for users who rely on fast and precise screen capture every day. It works as a powerful Screenshot shortcut that helps you grab anything on your screen within seconds without wasting time. Whether you are a student, office worker, or content creator, this Windows screenshot tool improves your workflow by making visual sharing simple and efficient.
Instead of explaining things in long messages, you can instantly use a Screen capture shortcut to show exactly what you mean. This small tool acts like a smart assistant that speeds up communication, boosts productivity, and makes digital tasks feel smoother and more professional.
What Is the Snipping Tool Shortcut and Why It Matters?
The Snipping Tool Shortcut works like a digital camera for your screen. It lets you grab anything instantly without extra effort. This Windows screenshot tool has become a daily need for students, workers, and creators in the USA. It supports fast screen capture shortcut actions and improves digital documentation in simple ways.
You use this quick screenshot tool when you want to explain ideas visually. Instead of writing long explanations, you just capture and share. This improves visual communication and saves time. In offices, it acts as a powerful screen grab tool that boosts workflow speed.
Snipping Tool Shortcut Keys for Windows 7, 8, 10, and 11
The Snipping Tool Shortcut has evolved across Windows versions. Older systems used simple keys, while modern systems added smarter tools. Today, Windows screenshot tool features are more advanced and flexible for users.
Windows Version Comparison Table
| Windows Version | Shortcut Method | Feature Level |
| Windows 7 | Print Screen shortcut | Basic |
| Windows 8 | PrtScn button | Basic |
| Windows 10 | Win + Shift + S | Advanced |
| Windows 11 | Win + Shift + S | Smart capture |
The Screenshot keyboard shortcut is now faster than ever. Users prefer Snipping Tool Shortcut because it supports quick editing and instant sharing.
Windows 11 Snipping Tool Shortcut
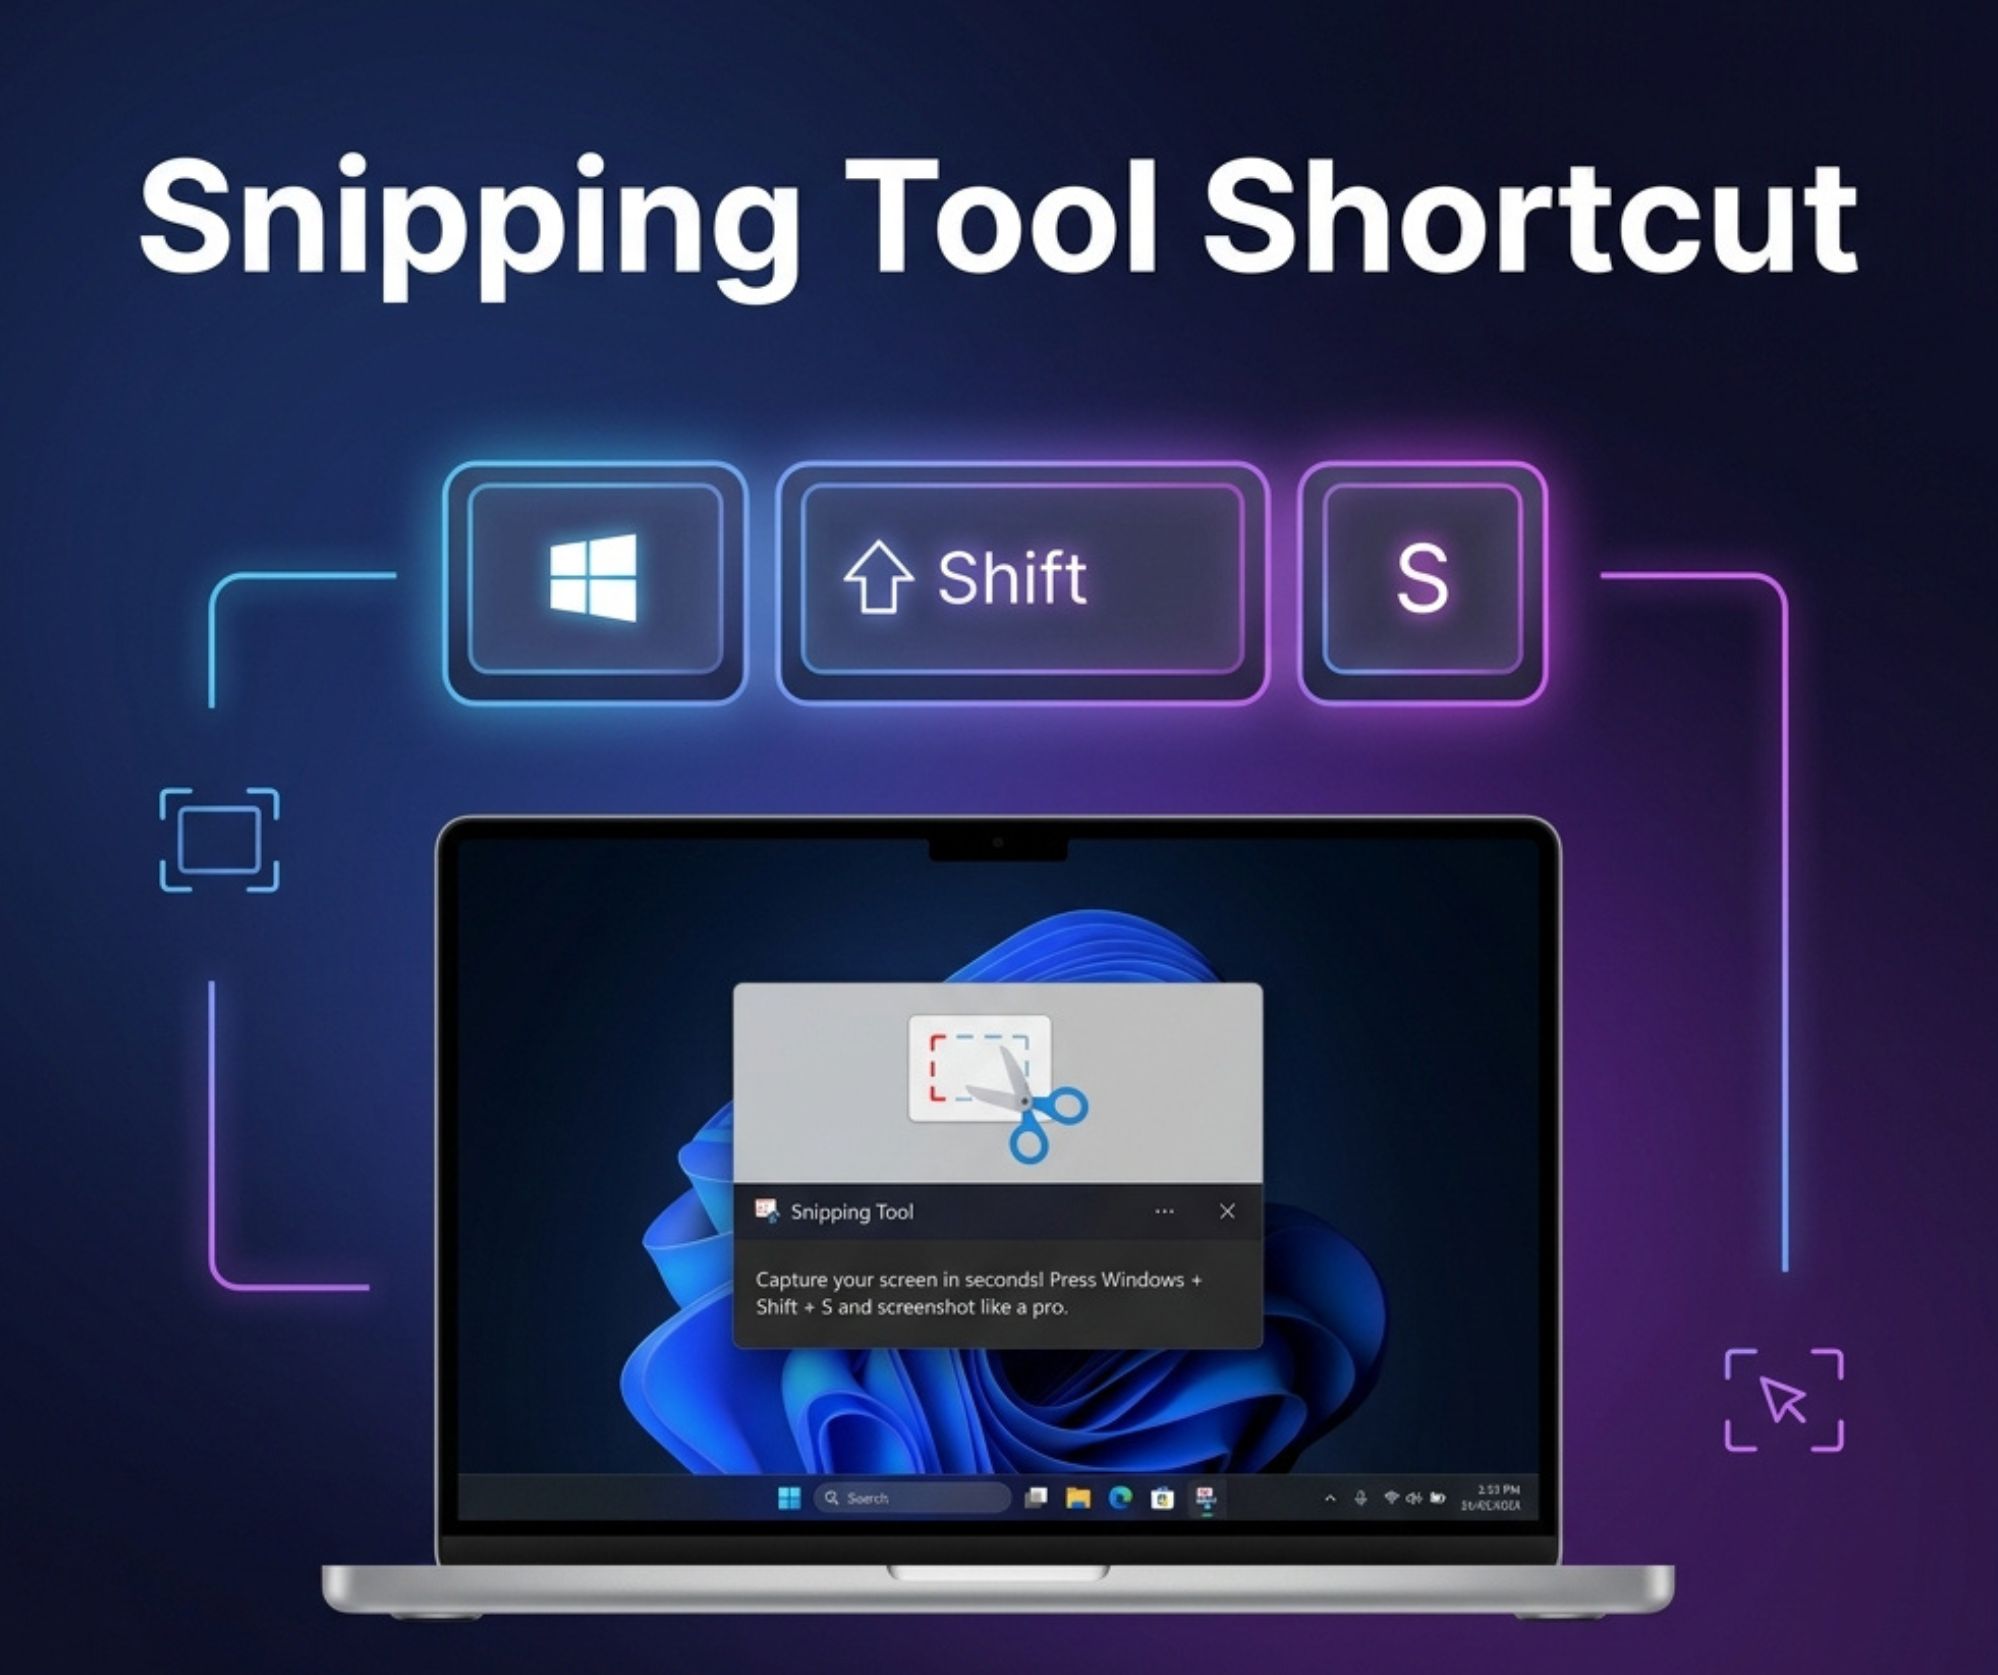
The Windows 11 Snipping Tool gives a modern experience with smooth capture tools. You press Win + Shift + S to activate screen snipping feature instantly. It allows capture selected area with precision.
This version also improves Snipping modes and adds better Screenshot annotation tools. For example, you can highlight text after capture. It works like a smart Screenshot app built inside Windows.
Windows 10 Snipping Tool Shortcut
The Windows 10 Snipping Tool supports both classic and modern capture styles. You can use Snipping Tool Shortcut or open the tool manually. It works as a reliable Screenshot utility for daily tasks.
It also includes Screen clipping mode for flexible capture. Many users still prefer it for its simple interface. It balances speed and control in one place.
Windows 7 & 8 Screenshot Shortcuts
Older systems rely on the Print Screen shortcut and PrtScn button. These tools act as basic image capture tools. They capture the full screen without selection.
Users often paste results into Paint for editing. This method lacks modern features but still works for simple tasks. It shows how Capture screenshot on Windows started.
Print Screen vs Snipping Tool Shortcut
The Print Screen key captures everything instantly. However, it lacks control. The Snipping Tool Shortcut gives precision and editing power.
For example, if you want only one window, Snipping Tool wins. It works like a smart Screenshot editor compared to basic capture tools.
Snipping Tool Shortcut for MacBook and macOS
Mac systems do not use Snipping Tool but offer similar features. The Mac screenshot shortcut is fast and powerful. It supports full and partial capture with simple keys.
Mac users rely on Keyboard shortcuts for screenshots to improve workflow. It helps with Productivity shortcuts and smooth Screenshot workflow.
Full Screen Screenshot Shortcut
Press Command + Shift + 3 for full screen capture. This creates a Full screen screenshot instantly. It saves directly to desktop.
This method supports quick Digital documentation. It is useful for reports and presentations.
Selected Area Screenshot Shortcut
Press Command + Shift + 4 to activate selection mode. This acts like a Screen clipping tool for Mac users. You drag and capture specific areas.
It improves accuracy and reduces editing time. Many designers use it for clean results.
Window Screenshot Shortcut
Add Spacebar after shortcut to capture a window. It works like Capture active window feature in Windows. It gives clean and professional results.
This method is perfect for app demonstrations and tutorials.
Screenshot Toolbar Shortcut
Press Command + Shift + 5 to open toolbar. It includes Screen recording feature and capture tools. This acts as a full Screenshot utility in macOS.
It improves Screenshot workflow by combining all tools in one place.
Different Types of Snips in the Snipping Tool
The Snipping Tool Shortcut supports multiple snip types. These include flexible options for every situation. It makes Screen capture shortcut more powerful and user-friendly.
Each mode improves Screen snipping feature experience. Users can choose based on task needs.
Rectangular Snip
This mode creates a Rectangular snip for precise selection. It works best for documents and web pages.
It improves accuracy in Screenshot app usage. You drag and select clean edges.
Free-form Snip
This mode allows Free-form screenshot creation. You draw shapes manually around content.
It feels creative and flexible. Many users call it a natural Screen grab tool.
Window Snip
This captures one window directly. It acts as Window screenshot feature in Windows.
It removes distractions from background apps. It is useful for reports.
Full-screen Snip
This captures everything visible. It works as Full-screen capture mode.
It is fast and useful for presentations. No selection needed.
Key Features of the Snipping Tool
The Snipping Tool Shortcut includes powerful features. It is more than a simple capture tool. It works as a complete Screenshot utility for modern users.
It also improves Screenshot sharing and editing workflow. Many professionals depend on it daily.
Multiple Snipping Modes
It supports different Snipping modes for flexibility. Users can switch easily between them.
This improves productivity and speed.
Delay Snip Feature
The Delay snip option allows timed capture. It is useful for menus and popups.
It helps capture hidden elements easily.
Built-in Editing Tools
The tool includes Image editing tools for quick changes. You can mark and adjust screenshots.
It reduces the need for external software.
Copy to Clipboard
This feature uses Clipboard functionality for instant sharing. You copy and paste quickly.
It improves speed in workflow tasks.
Save and Share Screenshots
Users can Save screenshot or share directly. It supports multiple formats.
This improves communication speed.
OCR and Text Extraction (Windows 11)
Modern versions include text extraction. It turns images into editable text.
This improves Screenshot workflow efficiency.
How to Take a Screenshot Using the Snipping Tool Shortcut
The process starts with Win + Shift + S. This opens capture mode instantly. You select the area and capture it.
The system shows a preview. You can edit, copy, or save it. This makes Screen capture shortcut simple and fast.
How to Use Delay Snip for Timed Screenshots
Delay snip helps capture timed moments. You set a few seconds delay. Then system prepares capture.
This is useful for dropdown menus. It improves accuracy in Screen clipping mode.
How to Capture Full-Screen, Window, and Partial Screenshots
Full-Screen Snip Shortcut
Full capture takes entire screen. It is fast and simple.
Active Window Capture
This captures selected application. It improves focus and clarity.
Selected Area Capture
You drag and choose area. It gives control over output.
Scrolling Screenshot Alternatives
Windows does not support scrolling capture. You can use browser tools.
How to Edit, Print, Save, and Share Captured Snips
Annotating Screenshots
You can use Screenshot annotation tools. They help explain ideas clearly.
Highlighting Important Areas
You mark key points easily. It improves readability.
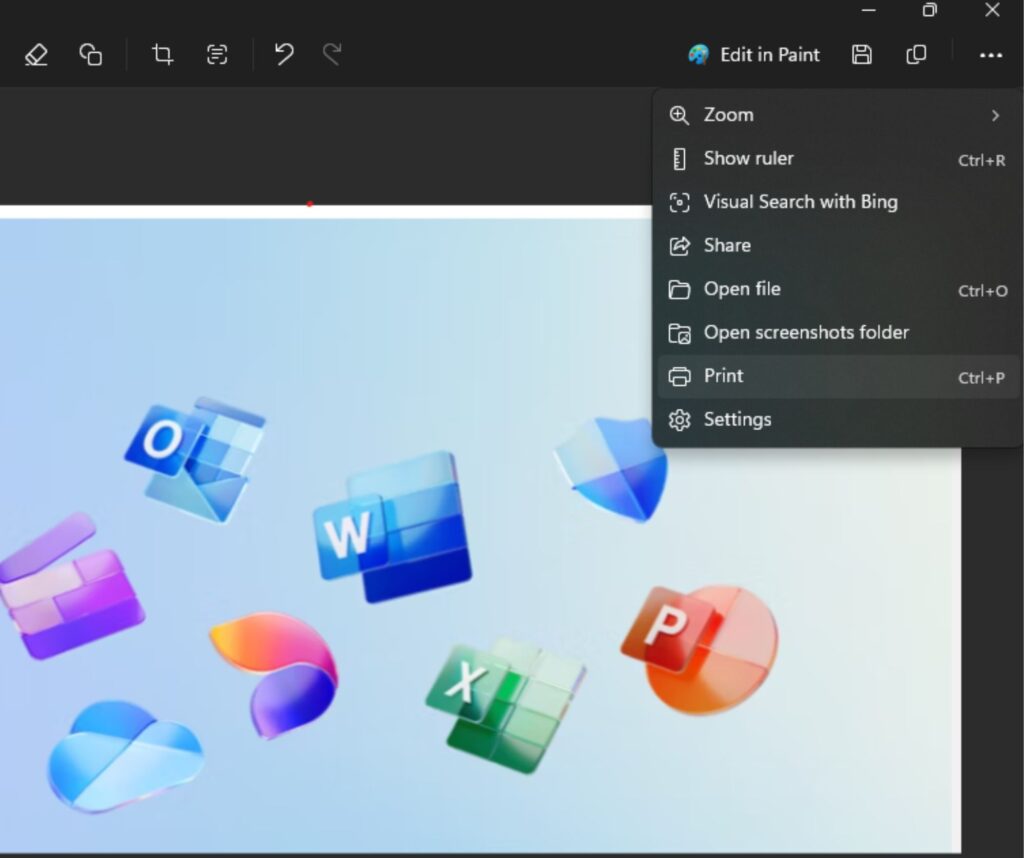
Printing a Screenshot
You can print directly. It supports documentation tasks.
Saving in Different Formats
You can store files in different formats. It gives flexibility.
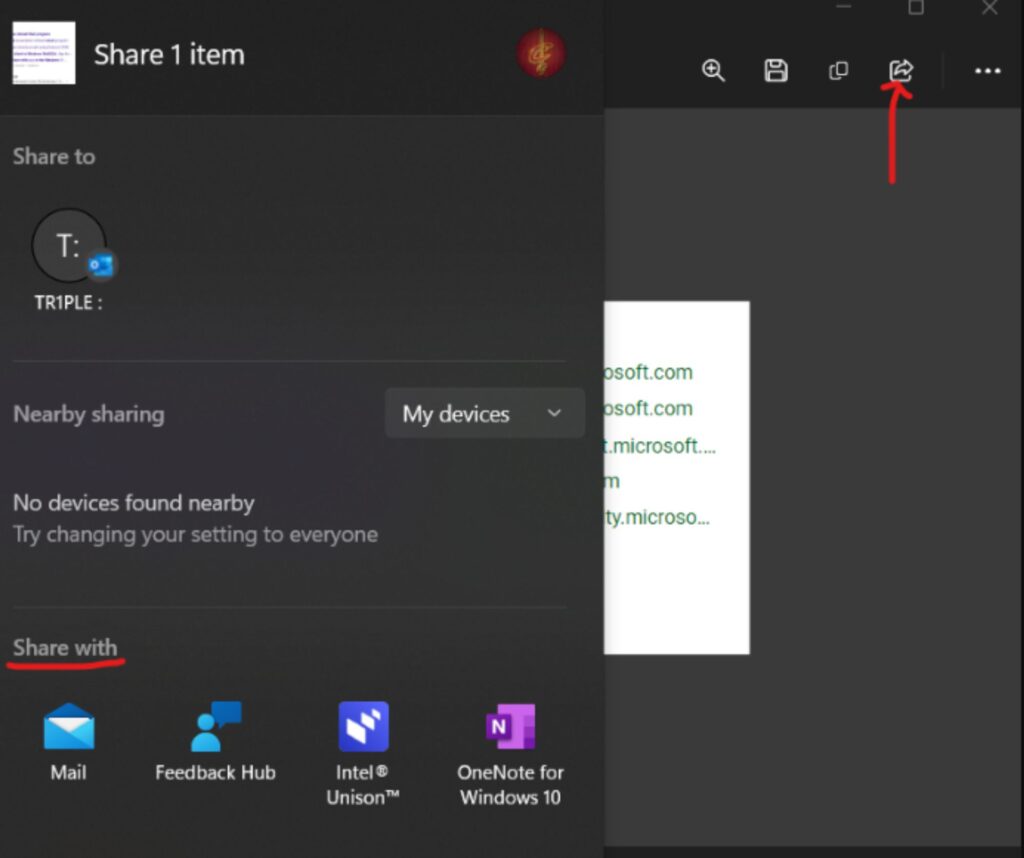
Sharing via Email or Apps
You can share instantly. It supports teamwork.
Common Snipping Tool Problems and Their Fixes
Shortcut Not Working
Restart system or check updates. It often fixes issues.
Snipping Tool Not Opening
Reset or reinstall tool. It restores performance.
Screenshot Not Saving
Check storage space and permissions. It solves saving errors.
Clipboard Issues
Restart clipboard system. It fixes copy problems.
Windows Update Fixes
Update Windows for stability. It improves tool performance.
Best Tips and Productivity Uses of the Snipping Tool
The Snipping Tool Shortcut boosts productivity in work and study. It helps in tutorials, reports, and design work. It improves Digital documentation and communication.
Many professionals use it daily. It acts like a silent assistant for fast visual tasks.
Frequently Asked Questions About Snipping Tool Shortcuts
What is the shortcut key for Snipping Tool? It is Win + Shift + S.
How do I take a full-screen snip? Use Print Screen shortcut or full capture mode.
Does Mac have a Snipping Tool? No, but it uses Mac screenshot shortcut methods.
Why is Win + Shift + S not working? It may need updates or restart.
How do I save screenshots automatically? Enable auto-save in settings.
Leave a Reply